

Showing posts with label the barn re-do. Show all posts
Showing posts with label the barn re-do. Show all posts
Tuesday, July 9, 2013
Shut the Front Door
I actually finished something!
 Wish I had a before picture. Maybe someday I will have access to my old pictures again...The rocking chairs were painted and we liked the color so much we bought more for the doors. And hubby painted the whole front of the house.

Monday, August 27, 2012
Picture Wall
Not the best picture of the picture wall but some have been asking to see it so here you go!
 I left my daughter in there so you could see the scale of it. And she decided to decorate a little on the left side. And someday I will have a letter inside my empty oval. Just trying to figure out how to decorate the letter...

Saturday, May 12, 2012
The Barn Re-Do: Floors
So while I haven't been busy sewing I have been busy fixing up the house. And by that I mean my husband! I did help move everything. Adam had a few days off and we went for it. I shoved everything in our entryway and kitchen. 3 rooms worth of furniture. It was a bit crazy and wouldn't have been too bad but he didn't get to finish before he had to go out of town for a week. But we had a couch to sit on and netflix hooked up. 2 things I needed without him there to help out for a week.
Then he was home for a couple days and still didn't finish completely. No problem. He wasn't home so I didn't need much of a kitchen to make PB and J's and mac n cheese. He was gone for another week came home and finished up everything but we couldn't put anything on the floors for 3 days. He would be home in 4 so I waited to have him help me move the furniture this time. 3 weeks of living in an entryway got a tad old but it was so worth it!
Before:

 They have been like this for about a year. Dirty looking with paint splatters everywhere. I tore up the rug and they had not been treated very nicely. We also had to put in some new wood in a few places.
After:
 As soon as Adam started staining them Clover ran on the floors barefoot. Little footprints everywhere. Easily fixed. This is what happens while I am nursing. Then as soon as he finished the last coat of polyurathane she ran on them with shoes on. Those didn't get fixed and are still there. Barely noticeable but also covered by our couch.
They still aren't all the way finished. We need to put down some trim. But they are so pretty! My husband did an awesome job!
And of course since we were getting and brand new looking house. The floors seriously changed the whole look of our house, I had to re-do our sad looking table and chairs.
Before:
 This was taken on Chinese New Year. It was a fun night. Messy house = fun! And notice the pile of stuff on the left? This was a permanent fixture while we were working on the floors. I found this table at a thrift store for $10. It had tall legs so we cut them down. It was totally scratched up.
 I had no idea what color I wanted the table which is why it was never painted till now. I got super antsy to get it done with the floors and since I had no desire to leave my house and go to a store with 4 kids I painted it with colors I had at home.
 I used the same stain we used on our floors and then used paint from previous projects around the house for the table and 3 chairs I painted.

ahhhhh, it feels so nice sitting at home now!
Then he was home for a couple days and still didn't finish completely. No problem. He wasn't home so I didn't need much of a kitchen to make PB and J's and mac n cheese. He was gone for another week came home and finished up everything but we couldn't put anything on the floors for 3 days. He would be home in 4 so I waited to have him help me move the furniture this time. 3 weeks of living in an entryway got a tad old but it was so worth it!
Before:


After:

They still aren't all the way finished. We need to put down some trim. But they are so pretty! My husband did an awesome job!
And of course since we were getting and brand new looking house. The floors seriously changed the whole look of our house, I had to re-do our sad looking table and chairs.
Before:


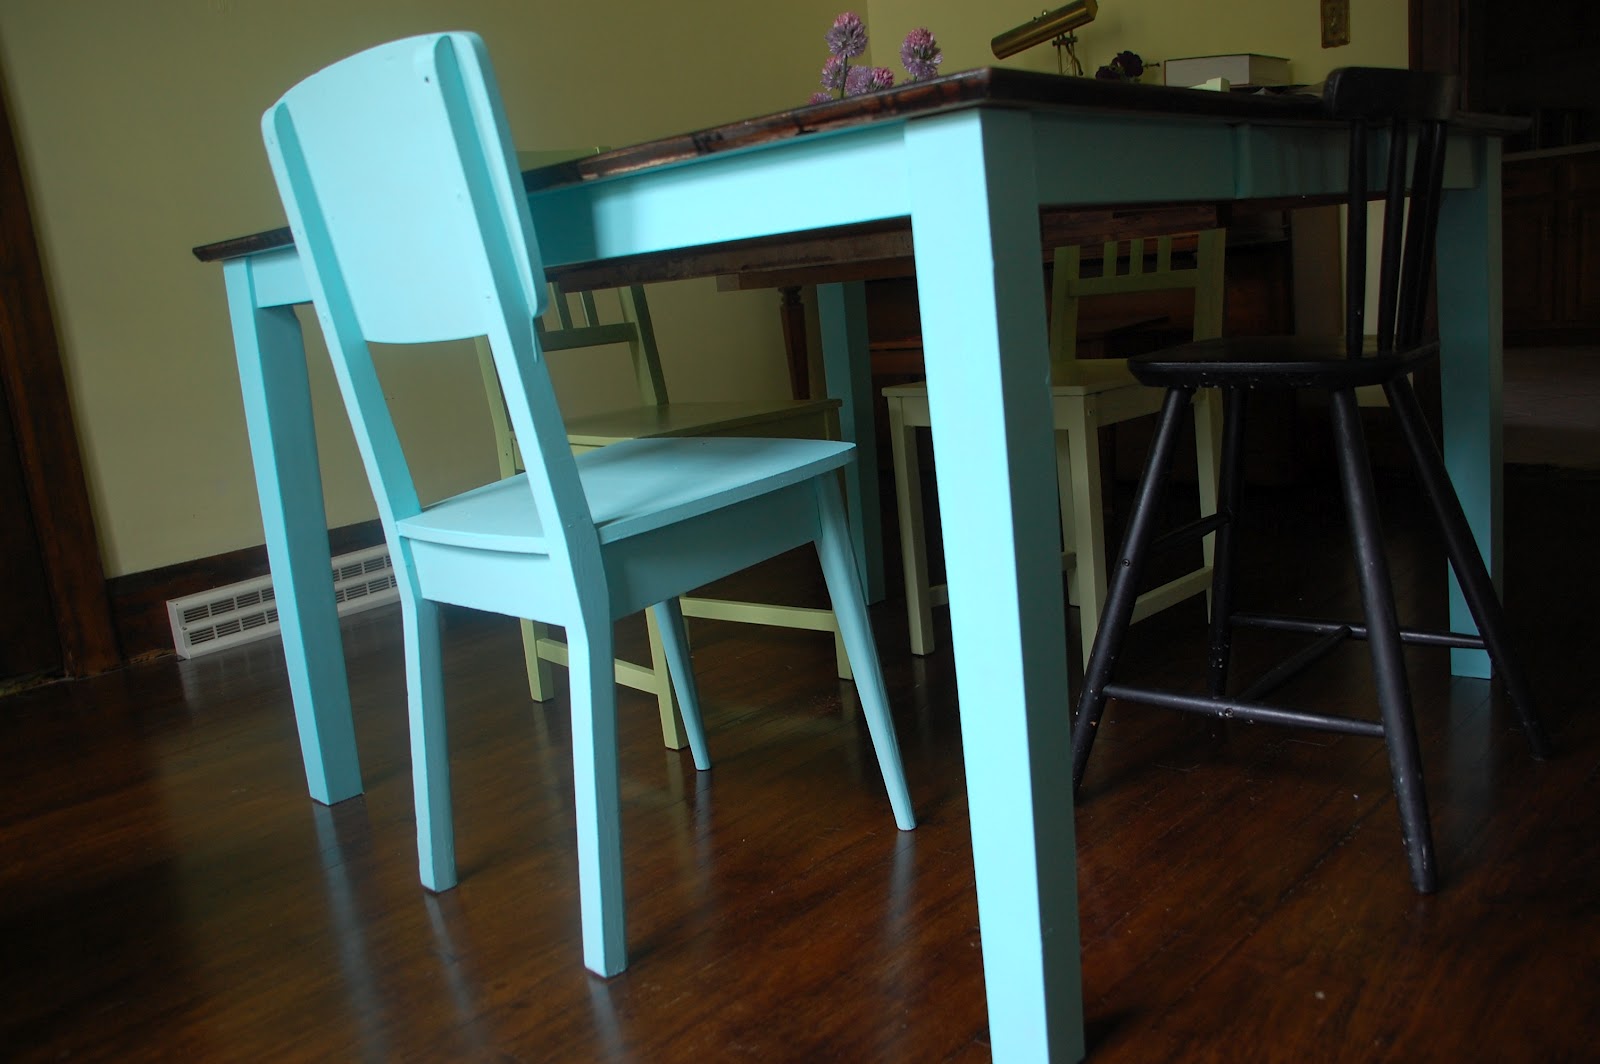

ahhhhh, it feels so nice sitting at home now!
Saturday, July 9, 2011
Pillows
So before I painted my walls yellow my room was in serious need of color. So I made the silhouettes and these pillows and bought a cute quilt.

 These pillows are just simple appliques I cut out and machine stitched on. I also added a zipper since I know they will get dirty pretty quick.


Of course now my curtains don't match and when my red front door is open my room looks like ketchup and mustard. Baby steps...


This pillow was made before I was ever married. The front of it was super gross even though it had been washed many times. I tore off the front and put a new one on leaving the back the same since it looked just fine and I loved the fabric. And this time I added a zipper so that it will be much easier to wash.

Of course now my curtains don't match and when my red front door is open my room looks like ketchup and mustard. Baby steps...
Sunday, July 3, 2011
Ahhh, much better
Here are some better pictures of the front room. This is what it looks like some days. Other days it looks a little greenish. Some days Adam and I like it and others we don't.


 The room is kinda dark all the time. There are only 2 windows and they go out the the porch so not too much sun comes in them. Can you see how the yellow looks nice in the top pic but not the next one???
What do you think?


What do you think?
Friday, July 1, 2011
Yellow
I painted my front room the other day. I had been trying to pick the perfect neutral shade for a year and when I got to Lowe's to buy the paint I came home with yellow. Bright yellow! I love the color, I really do, but I am not sure I like it in my room. A few days before I tore out the carpet to reveal hardwood floors underneath. They are in decent shape but have paint all over them and desperately need to be sanded and refinished.
Anyways, back to the yellow. All of the furniture in that room is brown, now the floors are brown and the trim is brown. Not sure if we will paint the trim white or not, most likely not, but even if we do, everything large in there is brown. So I don't know how much I like it. Here is a quick pic I took. I'll try and get more up. Just haven't had a chance to take any pictures of things I am doing lately.
 Obviously a crappy cell phone pic. And the yellow is brighter than this pic. What do you think???
Anyways, back to the yellow. All of the furniture in that room is brown, now the floors are brown and the trim is brown. Not sure if we will paint the trim white or not, most likely not, but even if we do, everything large in there is brown. So I don't know how much I like it. Here is a quick pic I took. I'll try and get more up. Just haven't had a chance to take any pictures of things I am doing lately.

Friday, April 29, 2011
Update on my Wallpaper
I wanted to let you know what my walls looks like a couple months after I put fabric on them.
There is a faint black outline from a few of the fabric pieces.
Not sure if this is because the fabric is black or if this would happen with every color.
Also, some of the pieces are starting to fall off on their own. Again, not all of them, most of them have been pulled off by my 1 year old. It is her favorite thing to do right now. She crawls along the wall and pick and picks until the pieces start to fall.
There is a faint black outline from a few of the fabric pieces.
 |
| can you see the faint outline? |
 |
| but there isn't a mark left by all the pieces, just some of them. |
Also, some of the pieces are starting to fall off on their own. Again, not all of them, most of them have been pulled off by my 1 year old. It is her favorite thing to do right now. She crawls along the wall and pick and picks until the pieces start to fall.
Monday, April 18, 2011
Does anyone have tips on how to photograph curtains?
Cause I try and try and try but this is the best I could come up with. The light coming through the window just makes for horribly dark pictures.

 These look so nice here, I promise. Just some curtain panels I made last week to hang on our stairway landing. (is that what it's called?)
I had this fabric in my stash. So nice to finally use it. Since it's on the stairs it doesn't matter that it doesn't match anything.
It was wide enough so that I just cut it in half, serged and hemmed it up and then hung it. Quick and easy. Now on to make some for my bedroom and dining room...


I had this fabric in my stash. So nice to finally use it. Since it's on the stairs it doesn't matter that it doesn't match anything.
It was wide enough so that I just cut it in half, serged and hemmed it up and then hung it. Quick and easy. Now on to make some for my bedroom and dining room...
Saturday, April 9, 2011
The Master
I have been married for over 7 years and in all my decorating endevors I have never decorated our master bedroom. Sure I have hung a few pictures and made a duvet cover but our bedroom has always been the room that just was. No attention. We got a hand me down matress with a metal frame. We have never bought a bed, like a real bed, because we want a bigger matress for my super tall husband but those things are way too much money for us right now. Sometimes we had a crib in there, sometimes a desk, sometimes both.
But now, now we have a room to ourselves and I finally have an idea of what I want our room to look like. Of course that is easier planned than done. Walls need painted, curtains need to be made, a headboard is wanted, but nothing expensive right?, cause we still don't have the right size mattress we want eventually. Oh, and bedside tables, those are a definate. Whatever piece of furniture doesn't have a home gets stuck by our bed. Our bedroom has always been a mismatched mess. Not in a good way.
In order to paint, I need a day with no kids, (HA!), for the bed fiasco, I need a good thrift store find(I think I found my headboard today!) and for a matching duvet I need to order some dye from Dharma to get the right shade. Oh, and since I am too picky for my own good for curtain fabric, I have an idea up my sleeve to personalize them all romantical like.
But for the little nook in the corner of my room I found the just right table and chair to make a little reading nook. And although the chair has been 3/4 of the way done for a couple weeks now, the table is finished!


But now, now we have a room to ourselves and I finally have an idea of what I want our room to look like. Of course that is easier planned than done. Walls need painted, curtains need to be made, a headboard is wanted, but nothing expensive right?, cause we still don't have the right size mattress we want eventually. Oh, and bedside tables, those are a definate. Whatever piece of furniture doesn't have a home gets stuck by our bed. Our bedroom has always been a mismatched mess. Not in a good way.
In order to paint, I need a day with no kids, (HA!), for the bed fiasco, I need a good thrift store find(I think I found my headboard today!) and for a matching duvet I need to order some dye from Dharma to get the right shade. Oh, and since I am too picky for my own good for curtain fabric, I have an idea up my sleeve to personalize them all romantical like.
But for the little nook in the corner of my room I found the just right table and chair to make a little reading nook. And although the chair has been 3/4 of the way done for a couple weeks now, the table is finished!
Before

After

Wow! That was a lot of talking for just 2 pictures. Sorry they weren't more impressive. But I do love the color! And the table was $4! Score!
Wednesday, March 23, 2011
The Kitchen Re-do
So our house is a HUGE work in progress! I see my other friends blogs who moved when I did and they seem to have done so much more than us and I am so impressed! I can't seem to find the time and my husband can't find the energy. One thing we have done is paint the kitchen.
I wanted to paint the cupboards cause I hate the oak color, but it is a huge project and we don't plan on staying here forever, and since some people actually like oak, we decided to keep them the same. I do want to switch out the drawer pulls but they are 2.5 inches and that is just IMPOSSIBLE to find anywhere!


I wanted to paint the cupboards cause I hate the oak color, but it is a huge project and we don't plan on staying here forever, and since some people actually like oak, we decided to keep them the same. I do want to switch out the drawer pulls but they are 2.5 inches and that is just IMPOSSIBLE to find anywhere!
Before

Notice the ugly white pantry doors? I left them off.

This is the only picture I have managed to take of the kitchen so far. But I haven't hung any pictures up yet. It is just painted, not decorated. I am still working on painting the frames. And someday, this will be where our fridge goes so this isn't even how it will look in the end. But I kinda like it how it is...
Tuesday, February 22, 2011
SYTYC Week 8 Scrap Curtains
Scrap Curtains
This project was one of those projects that just popped into my head and I couldn't stop until I was finished.

Simple kitchen curtains made from scraps of fabric and ribbon

After I hung them I told my husband that since I had something pretty and cheery to look at in the kitchen I might spend more time in there. He just laughed.

The curtains are made from flour sack towels, so there was no sewing there. And then I got to use all my fabric fabric scraps for cute little aprons. I wish they were as easy to make for me as they were to make for this curtain!
Monday, February 21, 2011
SYTYC Week 7 DIY Wallpaper and tutorial
So I got the boot this week. I guess that's what I get for not choosing something super trendy and different. Since mine was the one thing that wasn't just like the others. Oh well, I love it! I have been out of town all week, along with my family so when I was able to get to a computer to actually vote I was only a couple votes behind. Then, in less than a half hour I was suddenly 30 votes behind. Too bad the voting poll isn't hidden. But I had already don't week 8's challenge so stay tuned for that. It is truly one of my favorite things I have ever made so far. It was finished before the competition even started and I have been trying so hard to make it to week 8 just to be able to put it up there. Kinda funny!
Below is my original post along with the tutorial.
DIY Wallpaper
Below is my original post along with the tutorial.
DIY Wallpaper
My walls are barren at this point in my life. We are in a new house and haven't decided on paint color, let alone wall art. So before I am able to hang anything up I needed to cover the walls. And since my husband and I can't decide on a paint color, I just took the initiative to cover the walls in fabric.

This project was simple and took about as long as it would to actually paint your walls. I decided on the design I wanted on my walls and then went about cutting out my own design and put it up.

And I definitely learned a lot of tips and tricks along the way to share with you.

My dining room is totally barren. We don't even have a real table yet, just a fold up one. Soon enough it will be put together and look ama-za-aing!
Materials:
Fabric
Scissors
Starch
Damp washcloth
Towel
Credit Card
Step 1:
Pick your pattern and cut it out. (I cut out a million black houndstooth pieces. )
Step 2:
Lay towel on floor where you plan on spraying so that your floor doesn't get all starchy.
Step 3:
Spray wall with starch.
Step 4:
Stick fabric on wall and spray with starch again till it is all wet.
Step 5:
Smooth out fabric with credit card so there are no air bubbles. Use damp towel to soak up excess drips on wall.
Step 6:
Repeat!
Tips:
If you mess up, just peal fabric off wall and do it over. It is super easy to remove!
If you are sensitive to smells, maybe wait till warmer weather when you can open the windows to air out the smell of the starch.
I am not sure about how it effects the wall underneath since I haven't had this up for very long. I hear that is doesn't do anything to it but I wasn't about to put something up on new paint until I had tried it in a room that is in desperate need of paint. I will let you know after awhile if it did anything to the walls.
I know there are more tips I learned along the way and when I remember them I will put them up here.
Monday, November 22, 2010
The Barn Re-do: The Bathrooms!
Both bathrooms in our house are completely complete! There were a couple things that needed to be done upstairs and then the downstairs got a complete makeover this month thanks to my father in law! I still don't have any pictures on the wall. When I find something I am in love with I will put something up but until then, they will stay bare.
Upstairs Bathroom
It was so super pink. And when we tore off the border it was purple underneath. So nasty. The girls were super bummed that we painted it but I am super happy! This was actually the first room that was painted.
Before:


After:


Before:

After:
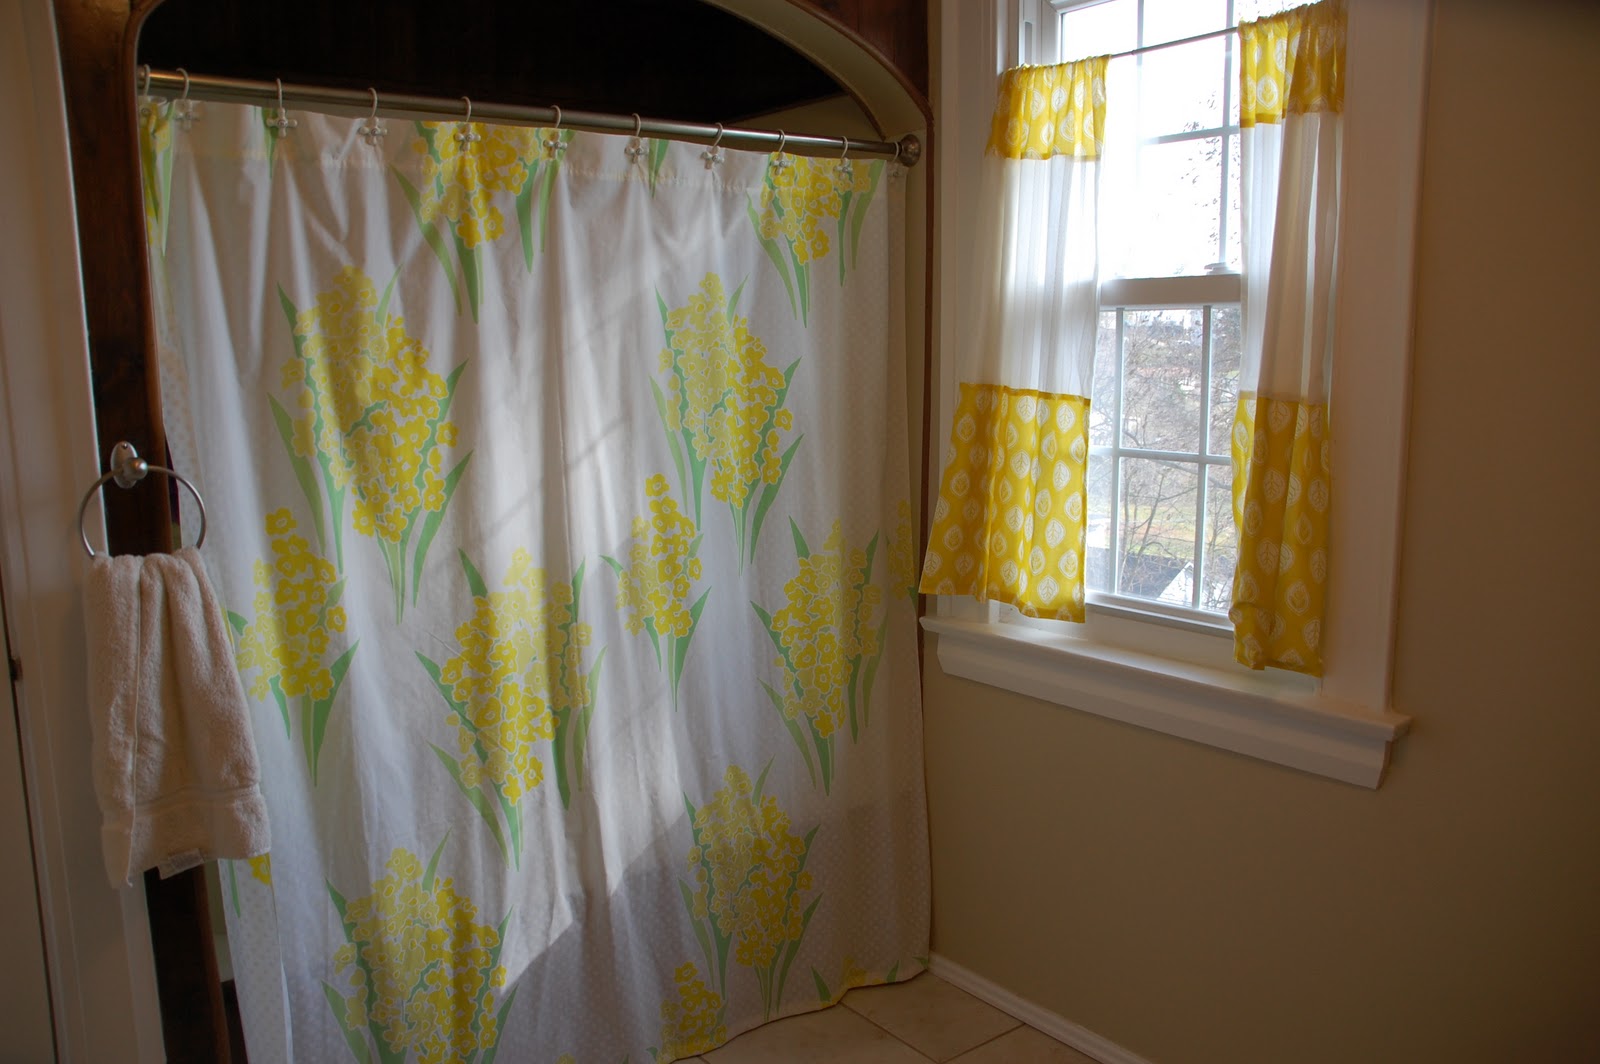
Notice the nice archway made of wood? So weird. I made the shower curtain extra long to cover our wood tub as much as I could. Shower curtain is made out of an old sheet. Still trying to decide if I like it. I think mostly I just hate the wood so nothing seems right hanging there. I had another shower curtain hanging there and it is now hanging in the window of my front room. Shower curtain rod is also new.
Before:

Even the doors were pink
After:

There is no place to hang a towel rack so I am making do with an over the door one.
Before:

After:

Notice how much more of the bathroom I can get from standing in the same spot. I love my new lens! I had a wide angle but with this one I don't have to keep switching back and forth! We got a new toilet seat. No more ugly wood one. And a toilet paper holder!
Downstairs Bathroom
Before:
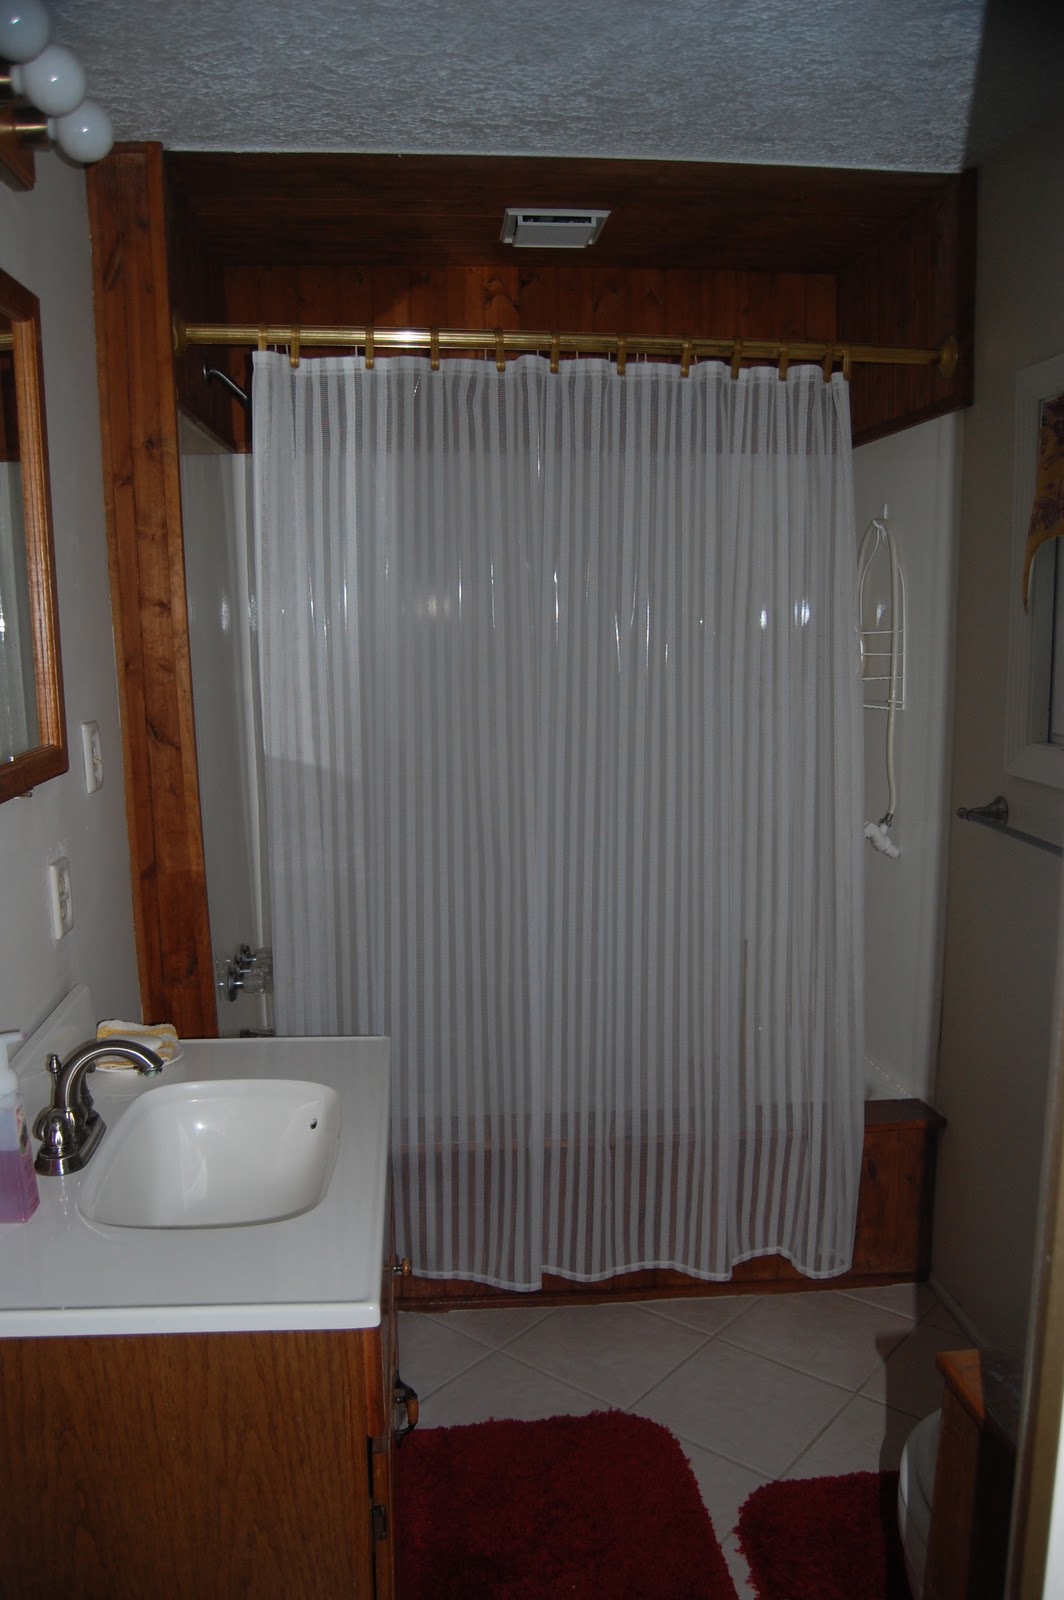

After:


We added a new vanity light, painted the walls and vanity, new hardware. We also got a new curtain rod holder.
Before:

After:

This is my favorite cause of the toilet! The old one was the ugliest thing I have ever seen. The wood on top was not only ugly but gross toilet stuff seemed to creep under the wood and it always smelled. And that thing plugged up like no other. So a new toilet was put in and I LOVE IT! And we have a tp holder so I don't have to hear Corduroy yelling at me to hand her the tp cause someone put it on the sink again.
Subscribe to:
Posts (Atom)