Showing posts with label onesie. Show all posts

Monday, June 18, 2012

wearable

Most of the onesies I have made are in the 3 month size.

 Thought I would share some pics of my cute little guy wearing them. I have a TON from my days of making them for craft fairs in this size as well so while you have already seen them on this blog you haven't seen them in a cute little guy.


And since I still haven't made it back to the sewing machine I thought I could at least post some pics of who I have been spending my time with.

He got to go to listen to a speaker at a medical conference with his daddy. I couldn't resist putting this on him even though I think it embarrassed his dad a bit.
I'll post more as I upload pictures....

Sunday, March 11, 2012

Dr. Kit

I have been making quite a few of these since I moved out east.
I made some name tags for the bags. Just added the baby's name with the Dr. title.

Wednesday, March 7, 2012

Expecting Perry the Platypus

My girls have been so excited for their new baby brother. My 6 year old has been waiting for a brother for years and her best friend just welcomed a new brother into her home a few weeks ago which has made the waiting in our house all the harder.

To help with the waiting and to help them feel involved we have been making him presents.

These onesies were made with fabric crayons we bought at JoAnns. The girls just colored on paper and I ironed on their designs.


Corduroy insisted on cutting hers out. I don't recommend this for a couple reason.

1. It makes it really hard to iron on. You don't want the paper to move or the picture will look blurry, so if you have nothing to hold onto then your iron has to carefully stay in one spot. I ended up with spots where the holes in the iron are. I tried to correct it but you can still kind of see them.

2. The pictures had an outline and she cut part of that off so when it was ironed on it looked like I missed part of the picture.

 Ady drew a picture of me so the baby would know what I look like. How thoughtful?


 Corduroy also wanted to write the names of what she drew underneath.When she first wrote it out she realized right away that the name would be backwards so she chucked her papers and whipped out the words written perfectly backwards without any help or thought. It was pretty impressive for a Kindergartner.


And because Ady thinks this baby is going to be named Perry the Platypus we had to have a Perry onesie for him.In hopes of her not getting to attached to the name we have talked with her about it and a couple days ago she said that could be his middle name.


If this baby decides to come when the others did I will be in the hospital today. Hopefully that's the case!

And for another variation of this check out Delia's onesies she made with her boys. They are adorable. More work but so worth it I think. If I hadn't already made these I think I would have gone the freezer paper route. The colors are richer and more artistic looking.

Friday, March 2, 2012

Wednesday, December 7, 2011

More boy!

You will be seeing a lot of this here and there. I have many projects in mind to make.

 This was quick and easy. Find cute onesie and fabric. Sew fabric on top. Sew on felt. Sew on buttons. Done!
You know what would be awesome? A velcro version for when it gets spit up on it. Just un-velcro the fabric and add another one. Clean looking duds all the time!

Tuesday, October 18, 2011

Incredibles Onesie

Fan of The Incredibles? Turn your kid into one of them this year. Just applique a onesie and put some eyeliner on them and you are good to go.

I promise this is my last onesie. (Unless I remember more cute ones I made. I totally forgot about this one and Superman)

Monday, October 17, 2011

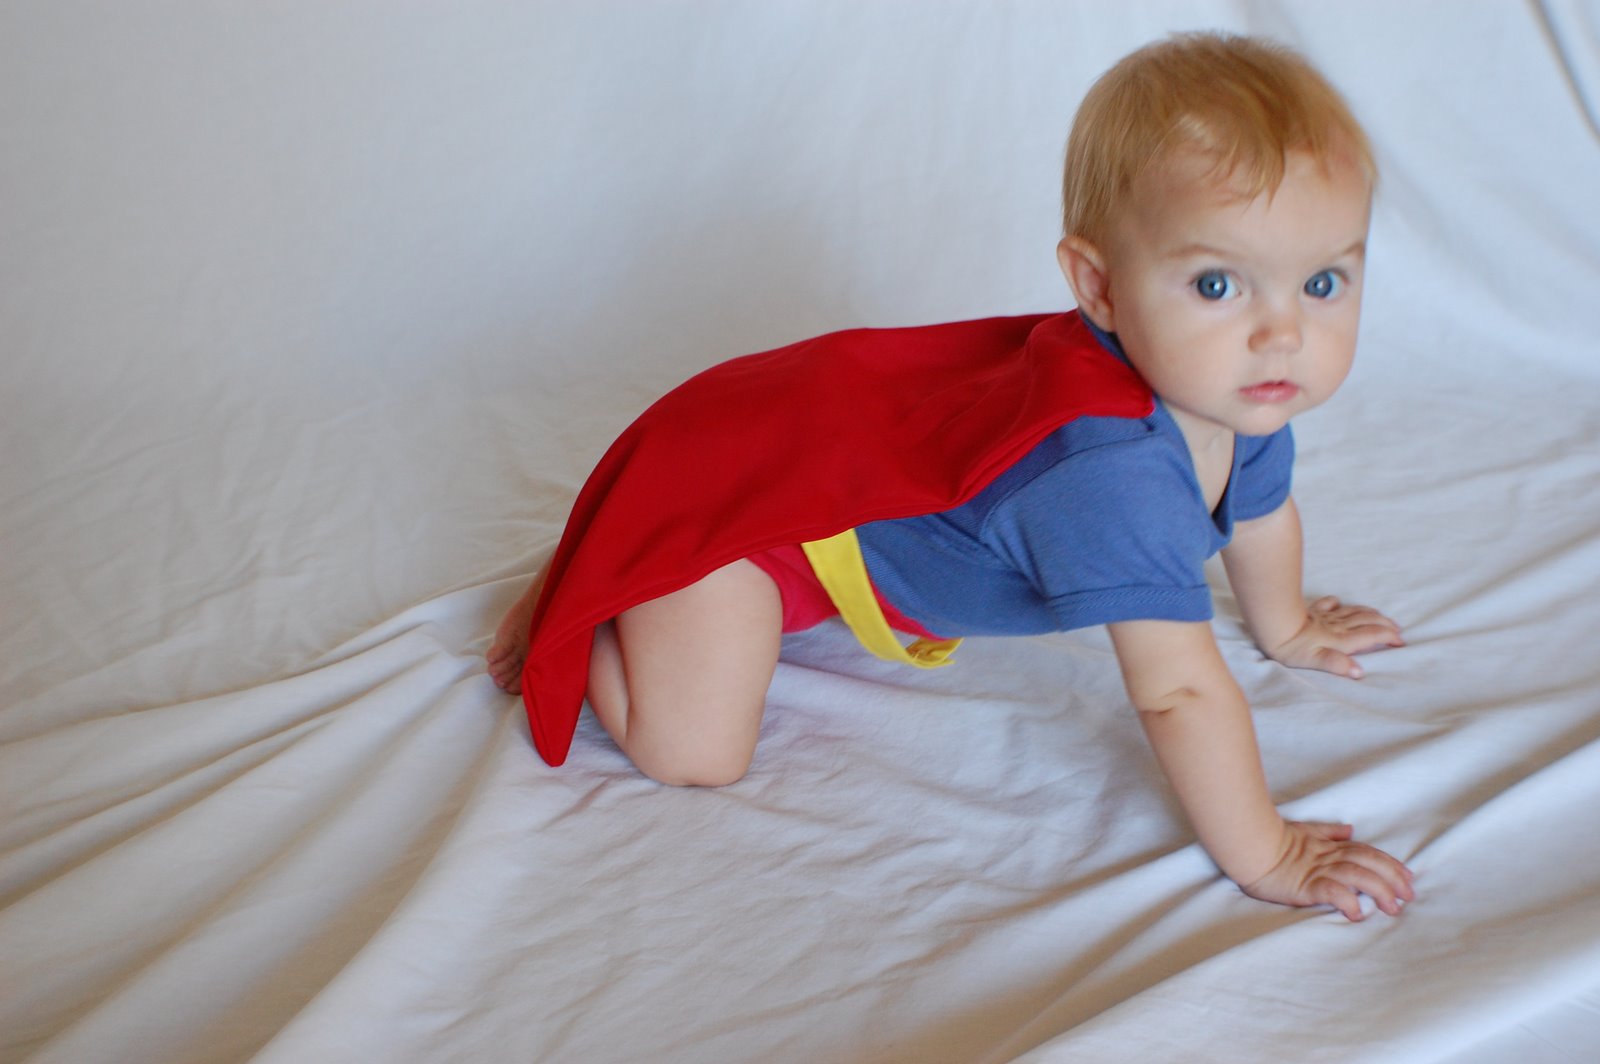
Superman Costume

One of my all time favorite costumes!


I took 2 onesies and cute them in half and sewed back together to get the right colors.

Appliqued on a logo and added a belt and cape.


For a bigger kid a onesie might not be the best idea. This is a simple appliqued shirt with a cape sewn right onto the back. You could also velcro the cape on, or snap it.

Add some tights and you are ready to fly!

Sunday, October 16, 2011

Pumpkin Onesie

This is my oldest a few years back and the inspiration for Corduroy's Closet.
Yes, the onesie is a tad tight on her but she doesn't seem to mind one bit.

Friday, October 14, 2011

Tuesday, October 11, 2011

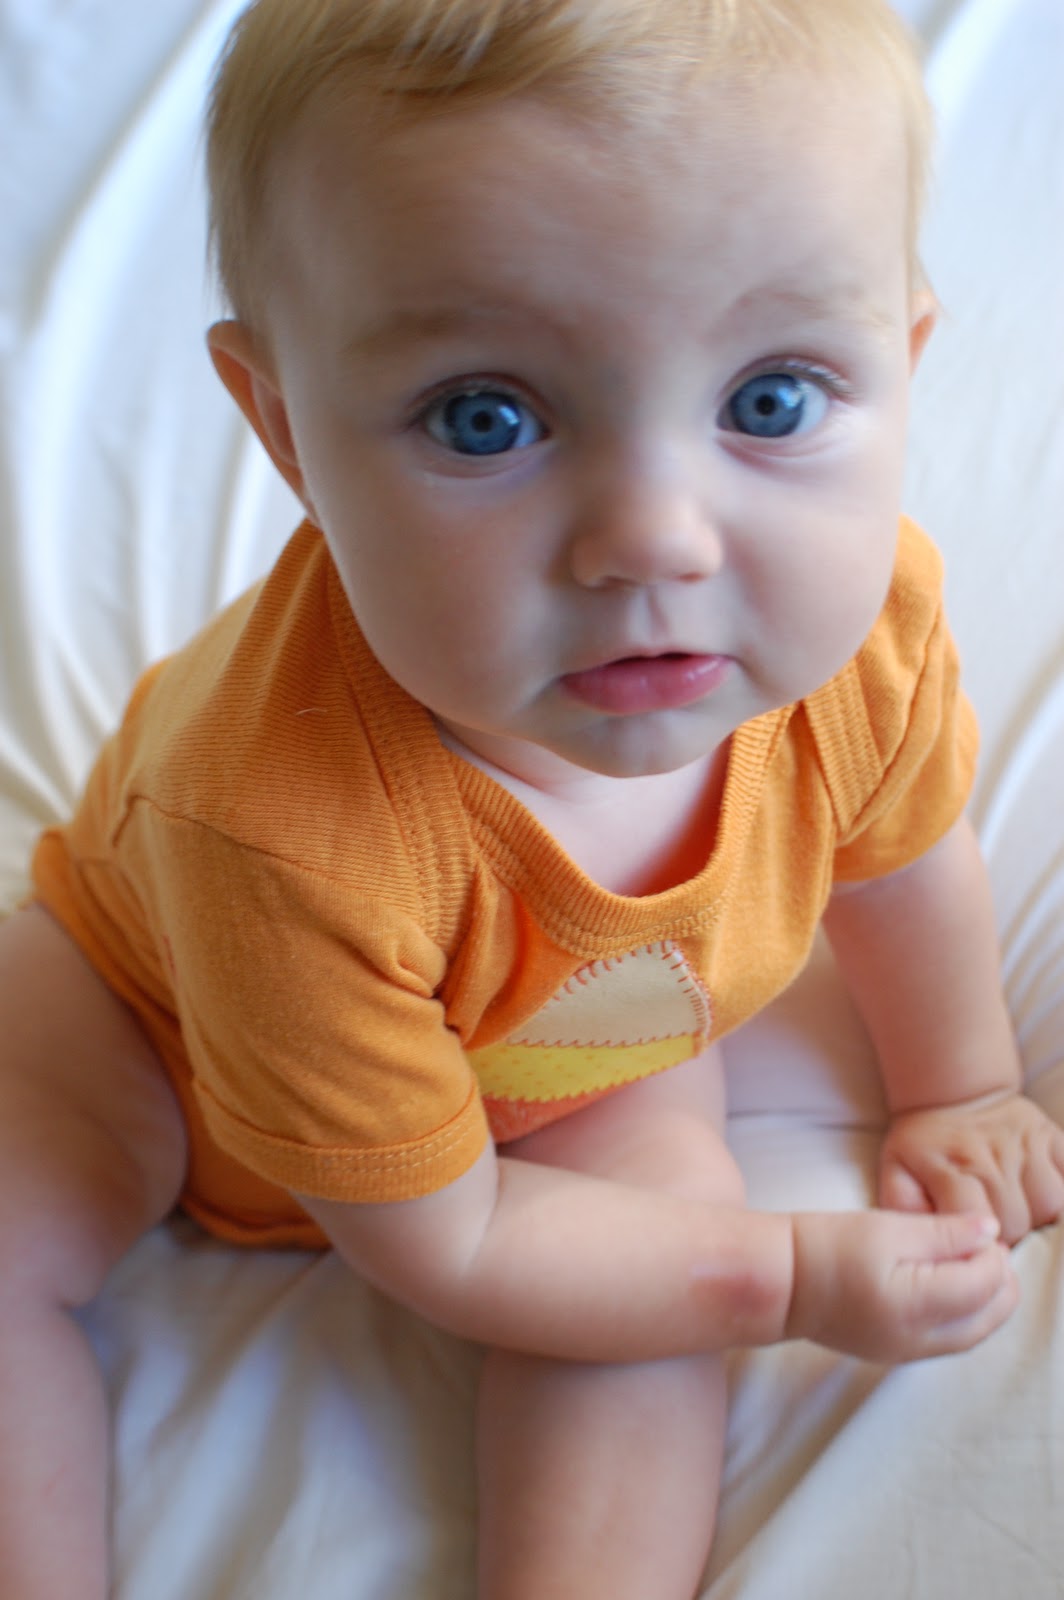
The Candy Corn Onesie

This is my cutie pie Ady modeling for me.She has been featured on Etsy for modeling this onesie and many other things I have made.

This is the first Halloween Onesie I made. I wanted it to last all season.
I found an orange onesie at the dollar store with a little picture on it and I just covered it up with the applique.
And for those of you who know Ady and wonder how long she has been sucking on her wrist:   forever
And if you look closely at that wrist you will see her permanent hickey.
Although it's hard to notice if you can't get past those big blue eyes.

Saturday, February 5, 2011

SYTYC Week 5 andTutorial

WOW!
This was such a close race! Everyone was within a few votes of each other and every one's craft was SO CUTE! Of course I am biased and because the Superbowl is tomorrow I want to get a tutorial to you today so you can be ready for the big game. You know, in case you are totally bored this week and have tons of time to just start a new project on the fly. 
But it's really quick and easy so scroll to the end of the original post to get the tutorial.


The 2 Point Conversion Onesie


If you're like me then you could go for either team this year in the Superbowl.

I've decided that I am going to start out rooting for the Pittsburgh. But is it so wrong to switch if the other team gets ahead? I've decided to plan ahead for just this situation. 


Ready to cheer on either team, this is a 2 in one-sie. HA! Get it?


The front of the onesie is all Steelers. And because I have been spending way too much time playing with toys lately, this onesie comes with accessories. A terrible towel is attached to a wristband so that when your little one waves their arms the towel goes flying.

But if I decide to change sides I can just flip my baby over, just like my allegiance.

Now I am ready to root for the other team, cheesehead and all!

APPLIQUE TUTORIAL:

1. Draw or print off your design. Most of my designs I draw myself but you can print stuff off the computer if that is easier for you.

2. Use your design as your pattern and pin it to your fabric. When you have a design like the Packers above it is easier to layer the fabric. So cut out a yellow oval, then a smaller green one, then the G. The layering will be a lot easier than trying to cut this out:

So remember, layering is your friend.

2. Once you have all your pieces cut out you need to cut out your fusible webbing.
My favorite brand is this:
You can get it a JoAnn's. I usually stock up when they have their half price sales. They also have the kind that you can buy per yard but that has never stuck for me. This brand is the best that I have tried.

Follow the directions on the back of the package and you will end up with this:


3. Once everything has been ironed on you are ready to sew. You don't have to stitch your design down at this point but it will last longer and look a lot nicer. You can use whatever stitch you want but I prefer my blanket stitch. Unless I am going a tad more grungy, then I just use a straight stitch.
Blanket stitch looks like this:

Notice the yellow star, that is stitched, the others aren't

And that's it! Cut, Iron, Sew and your done!

TERRIBLE TOWEL TUTORIAL

This is another super quick tutorial.

1. Cut out a piece of jersey knot or something stretchy to fit around your child's wrist. Since it's knit you don't have to worry about frayed edges, just sew up the middle to make a band and you're done with the wristlet part.

2. Cut out a piece of yellow fabric in whatever size you want.

3. Hem fabric. I used a rolled hem on my serger. Quick and easy.

4. Sew towel onto the wristlet.


Whether they keep it on their wrist or not,

they're still waving it around like a true fan!
(or maybe not)


CHEESEHEAD TUTORIAL

1. Cut out 2 pieces of felt in a triangle the size you want your cheese to be. Next cut out 3 triangles matching the length of the triangle. These will be your sides. Once you have all your pieces cut out, cut holes in one triangle and each of the rectangles.

Like this:


2. Cut circles a little larger than the holes you cut out in the cheese pieces. You want the holes to dip inside a little to add dimension.

2. Start stitching. I used embroidery floss and whatever stitch this is called

First, stitch the circles onto the holes. Make sure the circles are under so that there is a dip in the hole(notice above). When all the circles are filled in, start stitching up the sides. Match a rectangle to each side of your triangle and get stitching. Leave a small opening at the end to add a little bit of stuffing.

Then stitch up your last seam.

3. Attach cheese to headband, barrette or something else so that it will stay on head. I sewed mine onto a headband. But it would also work for a boy on a barrette (cause you will never see that), or just sew it onto a hat. You can always take it off later.


I was planning on rooting for the Steelers what with our living so close to Pittsburgh and all but if she will keep that cheese on her head I might change my mind. Is it bad to decide who you are cheering for based on who has the best accessories?